"Craftsmanship at Its Finest: The Making of the Paper Braid Wide Brim Hat"
The Materials
-

Traditionally braided hats are made from Swiss Straw Braid, which can be seen in a few pieces I've previously made including the Green Braided Millinery Beret and the Red Swiss Straw Braid Pillbox; however, this particular saucer hat was made from a paper version that I found in a discount store. The same material has been used in the Yellow Floating Boater Hat.

The Process
-

The first part of making this saucer hat included forming the shape over a wooden hat block, which is hiding under a layer of aluminium foil. I've started on the edge of the brim and worked my way towards the centre. As can be seen in the photo, the paper braid has been attached to the block temporarily with thumb tacks. This is done to make it easier for me to hand stitch the braid together.

-

This photo shows the finished brim, still attached to the block. A wooden crown block is sitting in the middle of the brim and the slight shine of the paper braid indicates that when this phot was taken, stiffener had already been applied to the brim.

-

Once the whole crown has been woven together, stiffener was applied to one side of the brim so that it maintained its shape while I hand sewed a millinery wire close to the edge of the brim. This picture shows a narrower pink braid being hand sewn over the top of the wire.

-

This photo shows the brim completely woven together and the finishing stage of attaching the narrow pink braid. After the narrow braid is neatly finished, more stiffener was applied to protect the paper braid and also to add strength to the brim.

-

One of the final steps in making this hat includes attaching a satin lining to the crown for comfort and longevity. In this photo, I've pinned the satin inside the crown and part of it has already been hand stitched in place.

The Finished product


About the Author
Melissa Rath is an Australian milliner creating unique, handcrafted hats. She shares insights on design, styling, colour theory, the history of hats and all things millinery.
If you liked this blog post, you might like these ones:


Featured collection
-
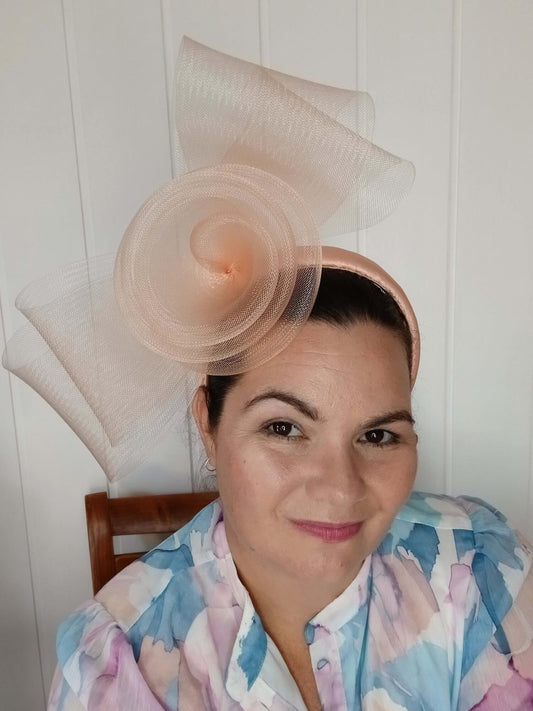
Apricot Crinoline Bow and Rose Headband by Melissa Rath Millinery
Regular price $180.00 AUDRegular priceUnit price per -
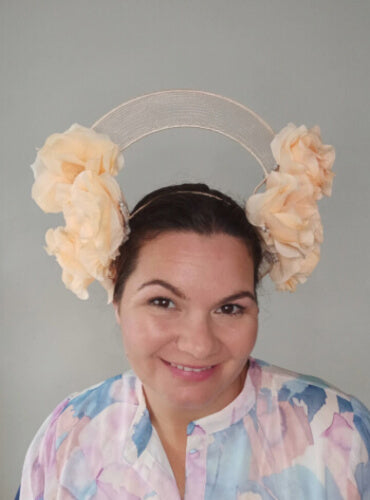
Apricot Crinoline Millinery Crown by Melissa Rath Millinery
Regular price $250.00 AUDRegular priceUnit price per -
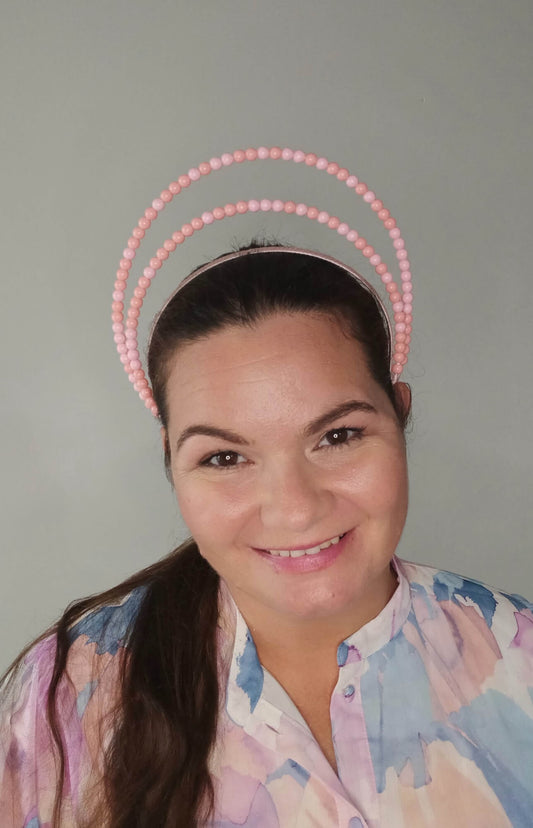
Apricot Double Halo Headband by Melissa Rath Millinery
Regular price $125.00 AUDRegular priceUnit price per -
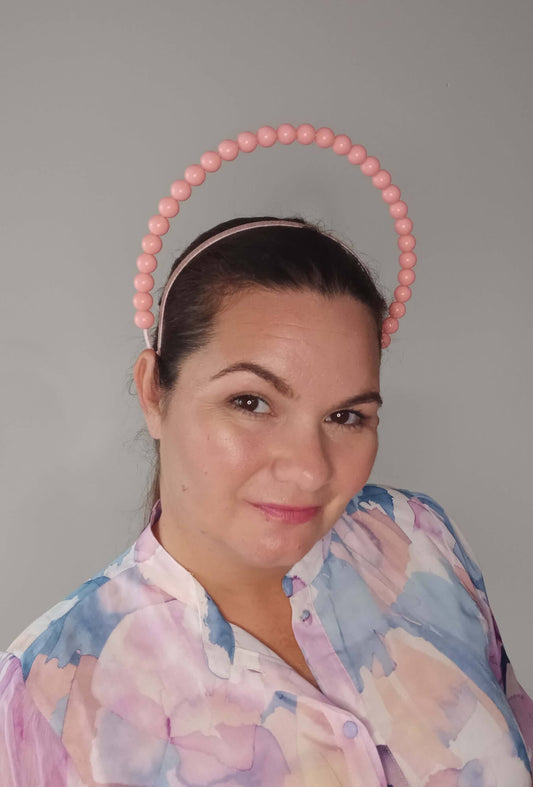
Apricot Halo Headband by Melissa Rath Millinery
Regular price $125.00 AUDRegular priceUnit price per